
1- Create account
2- Create user1- Add AWS S3 permissions to the user
Before you can do anything else, you need to give the user the correct permissions to access and create S3 buckets, the storage system that will hold your Django static and media files in production.
Once logged to your free AWS account, you will be brought to the AWS Management Console:
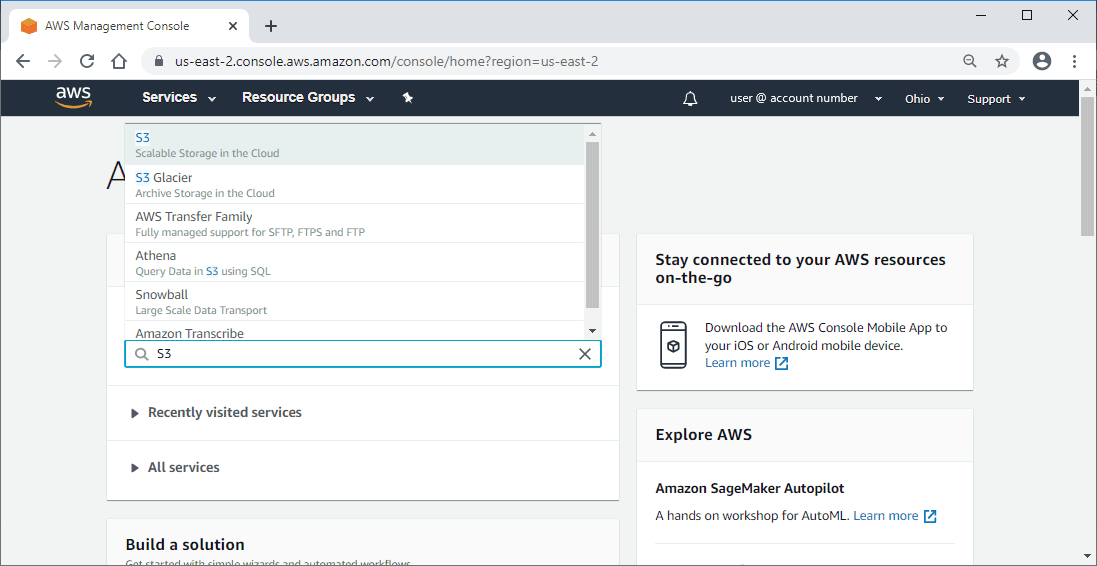
1. Find the IAM service to manage users’ access to AWS resources.
2. Click on the user name you want to have access to the S3 bucket.
3. Click the “Add permissions” button.
4. Select the “Attach existing policies directly” option and type in “AmazonS3FullAccess”.
5. Select the policy “AmazonS3FullAccess”.

2- Create AWS S3 Bucket
Create an S3 bucket for your Django static & media files
1. Find the S3 service for scalable cloud storage.
2. Once on the S3 services page, click the “Create bucket”
3. Under General configuration, name the bucket something related to your website so it is easily identifiable.
4. For the region, select your region of choice.
5. Leave everything else as the default.
6. Under Bucket settings for Block Public Access, make sure “Block all public access” is selected. This will restrict access to the Django static and Django media files uploaded to the S3 bucket.
Add CORS permissions to the S3 bucket for the Django Admin stylesheets
When all of your Django static files are uploaded to your S3 bucket, the Django admin stylesheets and files are also included in this. That means that instead of them being served from the deployed domain, they will come from the CloudFront domain. This will cause a CORS or a cross-origin resource sharing error in production and cause them not to be loaded.
To prevent this:
1. Select the bucket and go to the Permissions tab.
2. Select the button “CORS configuration” and add the code below.
3. Replace the AllowedOrigin with your production domain.
4. Save the configuration.
Note: The CORS configuration in the new S3 console must be JSON.
[
    {
        "AllowedHeaders": [
            "*"
        ],
        "AllowedMethods": [
            "PUT",
            "POST",
            "DELETE"
        ],
        "AllowedOrigins": [
            "http://www.your-domain.com"
        ],
        "ExposeHeaders": []
    },
    {
        "AllowedHeaders": [],
        "AllowedMethods": [
            "GET"
        ],
        "AllowedOrigins": [
            "*"
        ],
        "ExposeHeaders": []
    }
]
- Again, be sure to replace "http://your-domain.com" with your production domain. Then save the changes.
- add “GET” to "AllowedMethods" if you want to access the files and work with them
3- Connect Django project to your AWS account
3-1 Create a set of AWS access keys
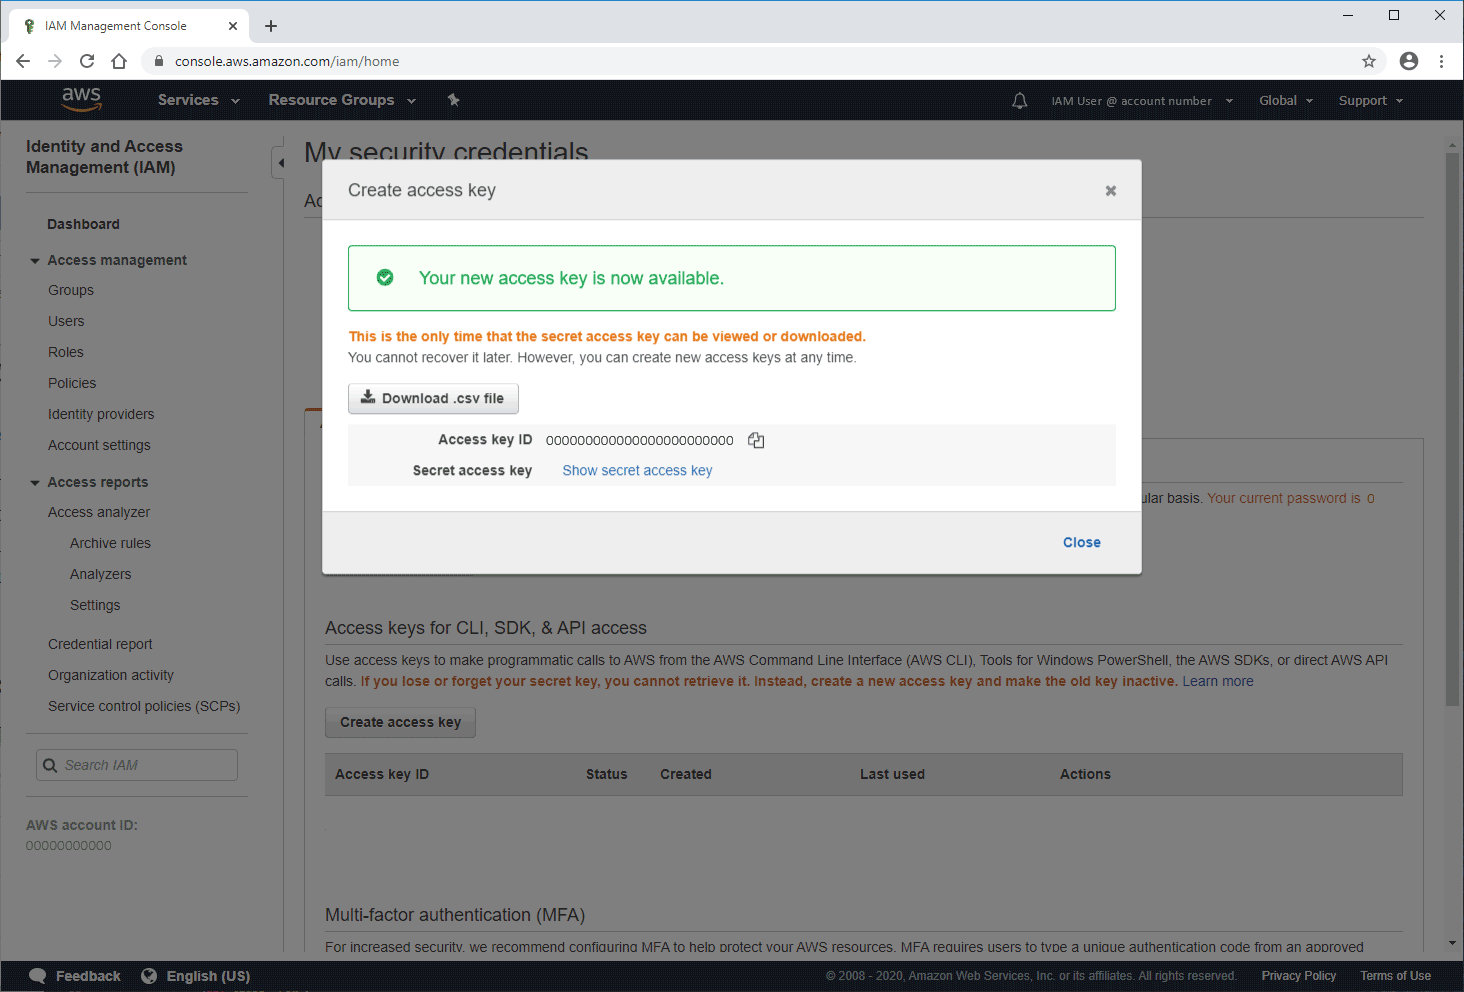
1. Click on your user name
2. Find "Access keys for CLI, SDK, & API access".
3. Then click on the "Create access key" button.
You will then see a popup that states "Your new access key is now available" with two keys listed below. The first is the Access key ID and the second is the Secret access key.
1. Click the "Download .csv file" button and save the access keys in a safe location on your computer. You can only view the secret key once in this popup so make sure to download the .csv file before closing the menu.
If you already have a set of access keys, there is no need to create another set. If you've misplaced old access keys, create a new set.
1- Install Django-storages boto3
pip install django-storages boto3
2- Add Django storages to installed apps
INSTALLED_APPS = [
    'main.apps.MainConfig',
    ...
    ...
    'storages',
]
3- Change the Django static URL to the Django S3boto3storage
add to settings.py file
If you want to deliver from s3 directly
#S3 BUCKETS CONFIG
AWS_ACCESS_KEY_ID = 'your-access-key-id'
AWS_SECRET_ACCESS_KEY = 'your-secret-access-key'
AWS_STORAGE_BUCKET_NAME = 'your-S3-bucket-name'
AWS_S3_FILE_OVERWRITE = False  # (optional: default is True) Set to False if you want to have extra characters appended.
AWS_DEFAULT_ACL = None  # (optional; default is None) which means the file will inherit the bucket’s permission
DEFAULT_FILE_STORAGE = 'storages.backends.s3boto3.S3Boto3Storage'
STATICFILES_STORAGE = 'storages.backends.s3boto3.S3Boto3Storage'
# AWS_S3_CUSTOM_DOMAIN = 'your-cloudfront-domain.com' # If you’re using S3 as a CDN like CloudFront
If you want to deliver from CloudFront CDN, see this https://www.ordinarycoders.com/blog/article/serve-django-static-and-media-files-in-production
# Static files (CSS, JavaScript, Images)
# https://docs.djangoproject.com/en/2.1/howto/static-files/

# STATIC_URL = '/static/'

# STATICFILES_DIRS = [
#     os.path.join(BASE_DIR, 'static'),
# ]

AWS_ACCESS_KEY_ID = 'your-access-key-id'
AWS_SECRET_ACCESS_KEY = 'your-secret-access-key'

AWS_STORAGE_BUCKET_NAME = 'your-S3-bucket-name'
AWS_S3_CUSTOM_DOMAIN = 'your-cloudfront-domain.com' # If you’re using S3 as a CDN like CloudFront

AWS_LOCATION = 'static'
STATICFILES_STORAGE = 'storages.backends.s3boto3.S3Boto3Storage'

STATIC_URL = 'https://%s/%s/' % (AWS_S3_CUSTOM_DOMAIN, AWS_LOCATION)

STATICFILES_DIRS = [
    os.path.join(BASE_DIR, 'static'),
]
Test
1. go to your bucket and copy from project/app/static folder all contents
2. run server
3. remove all js css from local folder and load pages
4. upload files and check if the uploaded files are there on the s3 bucket
You Might need Grant S3 access to Elastic Beanstalk instances
Adding permissions to the default instance profile
If your application accesses AWS APIs or resources to which permissions aren't granted in the default instance profile, add policies that grant permissions in the IAM console.
To add policies to the role attached to the default instance profile
1. First find the EB role Elastic Beanstalk → Environments → your app → Configuration
2. Open the Roles page
3. in the IAM console.
4. Choose your-ec2-role.
5. On the Permissions tab, choose Attach policies.
6. Select the managed policy for the additional services that your application uses. For example, AmazonS3FullAccess or AmazonDynamoDBFullAccess.
7. Choose Attach policy.
Grant S3 access to Elastic Beanstalk instances
Managing Elastic Beanstalk instance profiles
Resources:
File Storage with AWS S3 Buckets Upload | Django (3.0) Crash Course Tutorials (pt 22)
https://ordinarycoders.com/blog/article/serve-django-static-and-media-files-in-production
https://django-storages.readthedocs.io/en/latest/
https://pypi.org/project/boto3/
https://simpleisbetterthancomplex.com/tutorial/2017/08/01/how-to-setup-amazon-s3-in-a-django-project.html